
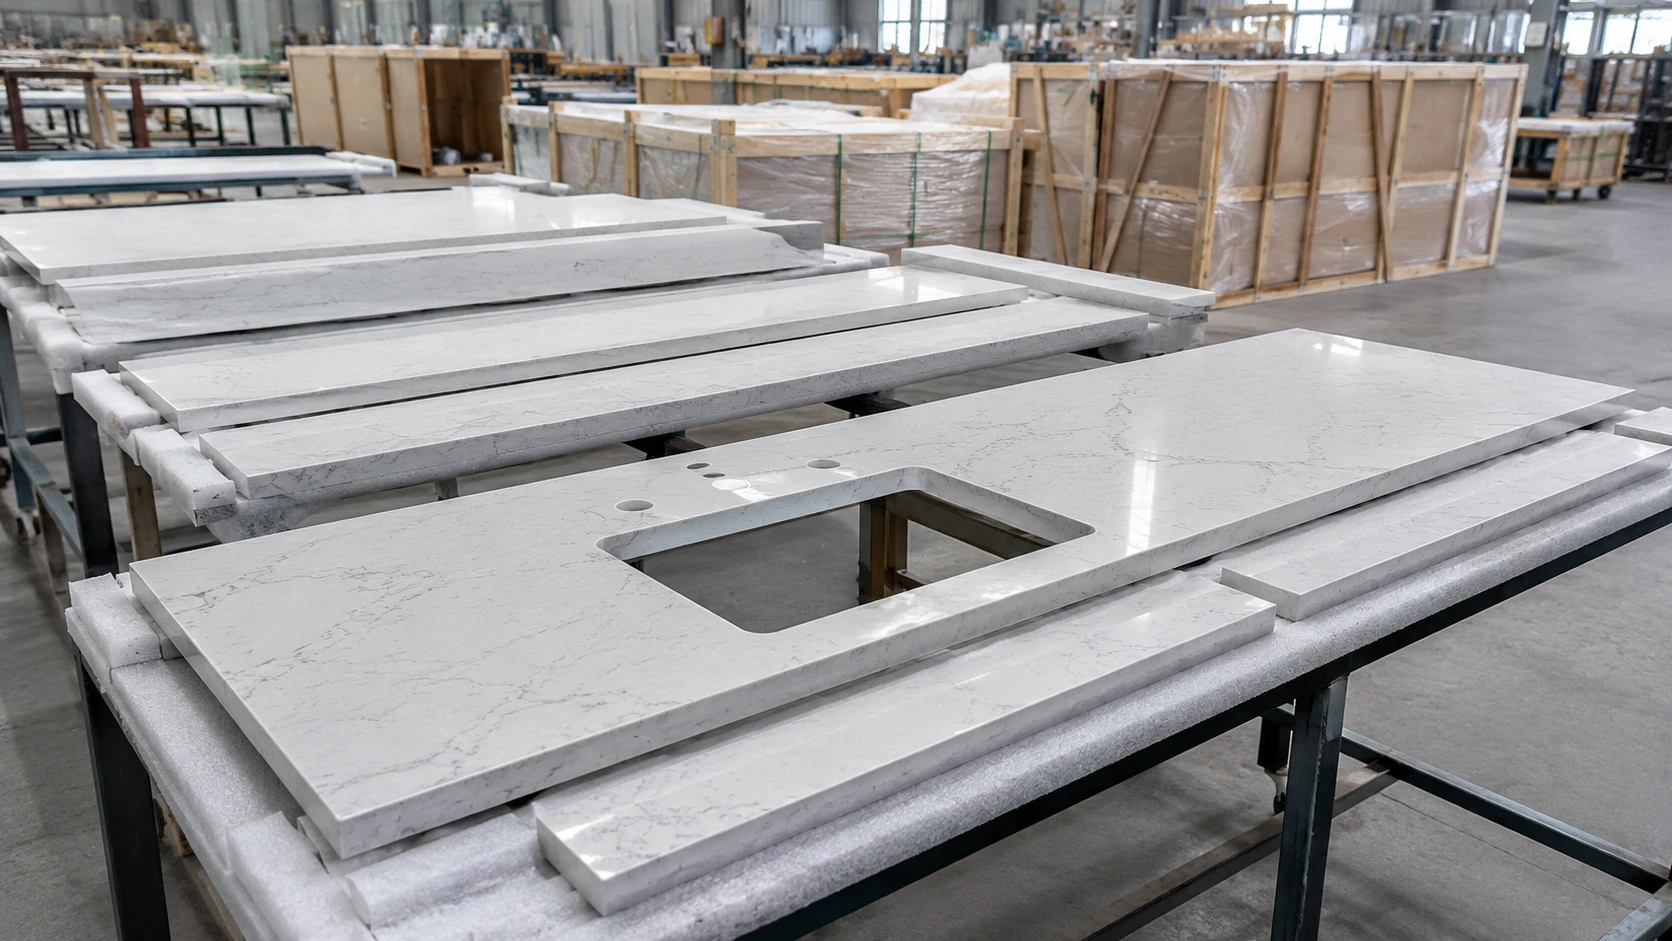
Prepared by: AsiaQuartz Editorial Team
Technical review by: AsiaQuartz Product, QC & Supply Chain Team
Last updated: July 2026
Quick answer: Printed quartz is generally processed with the same categories of engineered-stone cutting, CNC and edge-finishing equipment, but not necessarily the same settings. The exact product formulation, printing route, surface finish and manufacturer instructions determine blade, feed, cooling, adhesive, polishing, handling and repair limits. The safest workflow begins with product identification, dust-control planning, a test cut and a representative edge or seam mockup.
Do not start from the word “printed” alone: A heat-transfer product, direct inkjet surface, coated slab and hybrid decorative surface may respond differently to cutting, polishing, adhesives, suction equipment and local repair. Obtain the current product-specific fabrication instructions before production.
The key difference in printed quartz fabrication is often not the existence of a saw or CNC operation. It is the need to plan around the relationship between the visible pattern, underlying slab, cut edge, seam, miter and any surface layers.
This guide provides a decision framework rather than universal machine settings or repair procedures. Product-specific instructions and an offcut trial take priority over general advice.
Related reading: See How 3D Heat-Transfer Printing Works on Quartz Slabs for the differences between heat transfer, direct digital printing, coatings and through-body decoration. Review the Printed Quartz QC Checklist before accepting material for fabrication.Table of Contents
- Identify the Exact Product
- Fabrication Safety and Dust Control
- Test Cut and Mockup
- Edge Appearance and Profiles
- Cutting and CNC Planning
- Seams, Miters and Pattern Continuity
- Cutouts and Surface Protection
- Surface Damage and Repair Decisions
- Handling and Installation
- Client Approval Package
- Shop Checklist
- FAQ
1. Identify the Exact Product Before Programming the Job
Confirm more than the commercial color name. The fabrication file should identify:
- manufacturer and exact SKU;
- slab dimensions, thickness, finish and declared weight;
- base-slab composition and declared crystalline-silica content;
- printing or decorative route where available;
- primer, coating, clear layer or protective film where used;
- approved face direction and pattern orientation;
- manufacturer fabrication, adhesive, handling and care instructions;
- warranty conditions and prohibited repair methods.
Do not assume that two products marketed as printed quartz have the same binder, filler, strength, surface system or fabrication parameters.
2. Fabrication Safety and Dust Control
The printed image does not determine the slab’s crystalline-silica content or the hazards created during cutting and grinding. Review the exact product SDS, technical file and workplace requirements before fabrication.
Use the controls required for the product and jurisdiction, which may include:
- wet cutting and wet edge processing where applicable;
- effective local extraction or other engineering controls;
- exposure assessment and air monitoring where required;
- appropriate respiratory protection and fit testing;
- controlled housekeeping that avoids dry sweeping or uncontrolled compressed air;
- safe slurry, waste and filter management;
- training, restricted work zones and written exposure-control procedures.
Zero- or low-silica does not mean dust-free or hazard-free: Alternative mineral fillers, resins, pigments, coatings and other components can create their own exposure and handling requirements. Use product-specific safety information.
3. Use a Test Cut and Representative Mockup
Before committing the production slab, use an offcut or approved trial piece from the same product and, where possible, the same batch.
The mockup should be large enough to show:
- the selected edge profile and exposed base color;
- polished edge appearance;
- miter or seam construction where proposed;
- adhesive color and joint width;
- pattern orientation and continuity;
- surface protection and handling marks;
- any approved repair or touch-up method.
Record the machine, tooling category, parameters and result used for the approved trial. Do not assume the approved settings from one product transfer to another.
4. Edge Appearance and Profile Evaluation
A top-surface printed image does not automatically continue through a newly cut edge. The exposed cross-section may show the base slab, body decoration, another surface treatment or a different visual structure depending on the product.
| Edge Approach | Visual and Technical Consideration | Required Verification |
|---|---|---|
| Small eased edge | Limits the visible cross-section but still reveals the base material at the edge. | Confirm minimum permitted radius, polishing sequence and actual edge color on a mockup. |
| Rounded profile | Exposes more cross-section and can make contrast between face and base material more visible. | Approve a representative physical sample under project lighting. |
| Mitered build-up | Can reduce exposed cross-section, but it does not automatically create continuous veining or an invisible joint. | Verify cut placement, pattern direction, seam width, support, adhesive and finished corner. |
| Decorative or stepped profile | Creates multiple visible surfaces and may expose more base color or increase polishing complexity. | Obtain manufacturer approval and a physical mockup before production. |
| Exposed sink edge | The cut edge can be viewed closely and may contrast with the printed face. | Approve the sink reveal, edge finish and color relationship using the exact product. |
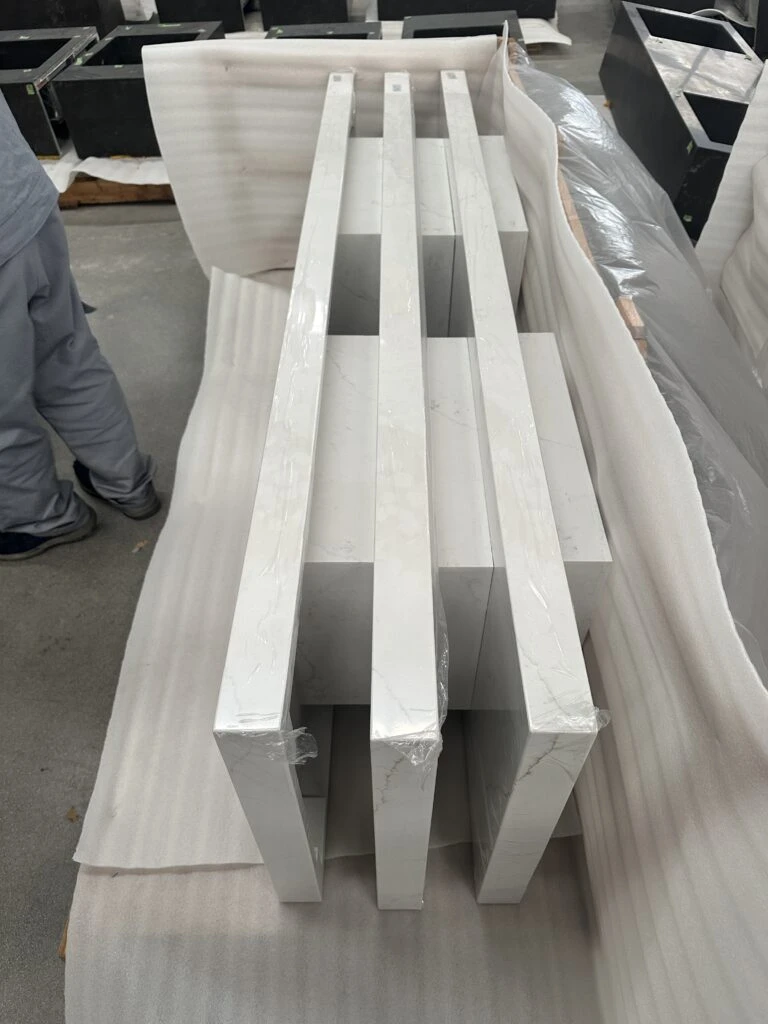
Do not label one edge profile as universally “best” for printed quartz. The correct choice depends on the base color, pattern, product thickness, radius limits, structure, application and approved visual result.
5. Cutting, CNC and Nesting Planning
Printed quartz is generally processed with conventional categories of engineered-stone equipment, subject to the manufacturer’s current instructions and the approved test cut. Blade type, feed, speed, coolant, CNC toolpath and edge-finishing parameters remain product-specific.
Before nesting the parts
- Confirm the visible face and pattern direction.
- Identify focal veins, quiet zones and areas that should not be interrupted.
- Map seams, sink cutouts, appliance openings and exposed edges.
- Reserve suitable offcuts for edge mockups, repair trials and future reference.
- Protect the printed face according to the product instructions.
- Confirm whether protective film, tape, suction cups or marking materials are permitted on the surface.
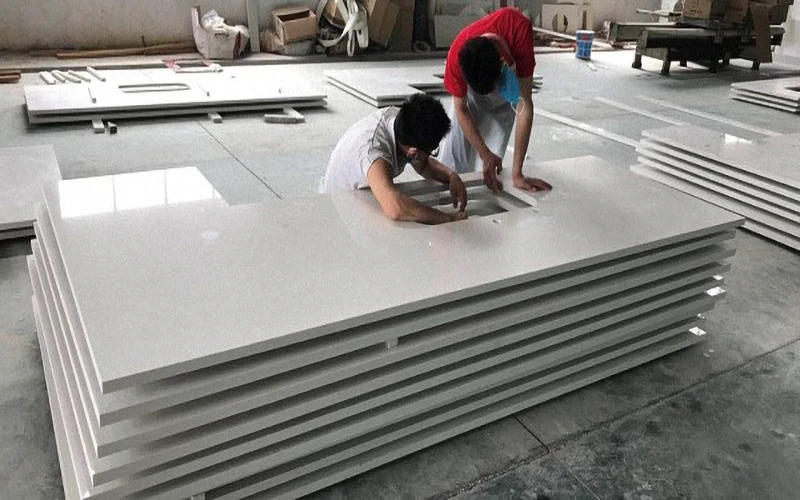
Do not rotate a directional piece for yield without reviewing the visual effect. Digital repeatability does not mean every orientation will look intentional.
6. Seams, Mitered Builds and Pattern Continuity
Pattern continuity across a seam is a layout and approval issue, not an automatic property of printed quartz. A digital design can be repeating, directional, random-looking, sequence-controlled or designed for a specific multi-slab arrangement.
Butt Seams
Approve seam position, pattern relationship, joint width, support and adhesive color. Use a manufacturer-approved seam system compatible with the exact substrate and application.
Mitered Builds
A miter can minimize exposed cross-section, but continuity depends on artwork orientation, cut placement, corner geometry, seam width, adhesive and polishing.
Waterfall Panels
Review top-to-side vein movement, visible corner, floor termination, support and installation sequence before cutting.
Backsplashes and Upstands
Confirm whether the design should continue, mirror, repeat or intentionally change direction between horizontal and vertical pieces.
Use the adhesive, joint preparation, reinforcement and cure procedure approved for the exact product. Do not assume that every polyester, epoxy or seam setter is compatible with every printed or coated surface.
7. Sink Cutouts, Appliance Openings and Surface Protection
Cutouts require the normal engineered-stone structural review plus additional visual planning for the printed face and exposed edge.
- Use the approved fixture template and reveal type.
- Follow the manufacturer’s minimum radius, reinforcement and support requirements.
- Plan the relationship between prominent veins and cutout edges.
- Protect the printed face from swarf, slurry, clamps, vacuum pads and uncontrolled marking materials.
- Verify whether masking tape, protective film or adhesive-backed materials are approved for the surface.
- Review exposed sink edges with the client or project team before production.
8. Surface Damage and Repair Decision Framework
Do not begin with an assumed pad, chemical, speed or polishing process. A repair that works on one printed system can remove color, change gloss, damage a coating or void another product’s warranty.
| Step | Required Action |
|---|---|
| 1. Stop and protect | Prevent further abrasion, contamination or handling damage around the affected area. |
| 2. Identify the product | Confirm SKU, batch, printing route, finish, surface layers and manufacturer instructions. |
| 3. Document the damage | Record location, size, depth indication, lighting, photographs and whether base material or another layer is exposed. |
| 4. Obtain the approved method | Request the manufacturer’s written repair or disposition procedure for that product. |
| 5. Test on an offcut | Replicate the proposed repair on representative material and review gloss, color and pattern impact. |
| 6. Approve the outcome | Decide whether the result is acceptable, visibly repaired or requires component replacement. |
| 7. Record the disposition | Document the method, approver, result, warranty impact and final client or project acceptance. |
Deep scratches or chips may expose the underlying slab color. A local repair can reduce the defect, but restoring the original digital pattern, density and vein continuity invisibly may not be possible.
Face-polishing warning: Aggressive grinding, sanding or polishing on the printed face can alter or remove a surface-zone pattern or bonded layer. Do not perform it without product-specific approval and an offcut trial.
9. Handling, Transport and Installation
Use the declared slab weight, dimensions, thickness, surface finish and manufacturer handling instructions. The printing process alone does not prove that weight, rigidity, friction, suction compatibility or impact behavior are identical to another quartz product.
- Verify lifting equipment capacity and contact points.
- Confirm that suction cups or vacuum lifters are suitable for the exact surface finish.
- Use clean, non-marking contact surfaces and approved protection.
- Keep the printed face away from metal swarf, abrasive debris and uncontrolled adhesives.
- Transport and support cutouts, narrow rails and mitered assemblies according to the product and piece geometry.
- Use qualified installers and the approved support, leveling, seaming and fixture-coordination procedures.
On-site cutting should be minimized and controlled. Any newly exposed visible edge or local face repair should be reviewed before the installer proceeds.
10. Client and Project Approval Package
- Actual-slab or full-slab visual: Pattern direction, focal areas and expected variation.
- Representative edge mockup: Edge type, base color, finish and visible cross-section.
- Seam and miter plan: Locations, pattern relationship, joint appearance and support.
- Repair boundary: Written explanation that some deep damage cannot be restored invisibly.
- Care instructions: Manufacturer-specific cleaning, heat, UV and maintenance guidance.
- Approval record: Drawing revision, sample ID, date, approver and accepted conditions.
A representative mockup should be large enough to show the selected edge, seam, pattern orientation and finish. A fixed universal mockup dimension is not appropriate for every project.
11. Printed Quartz Shop Checklist
- Confirm the exact product, technical file and fabrication instructions.
- Review the SDS and establish dust and exposure controls.
- Inspect the full slab before cutting and reconcile its ID with the approved reference.
- Complete an offcut test cut and representative edge or seam mockup.
- Approve the pattern orientation, nesting, cutouts, seams and mitered builds.
- Record product-specific tool and process settings from the successful trial.
- Use manufacturer-approved adhesives, protection and handling methods.
- Do not perform face grinding or repair without written guidance and an offcut test.
- Retain reference offcuts and project records for later repair or replacement decisions.
- Provide the installer and client with the approved edge, seam, care and repair information.
FAQ:
It is generally processed with the same categories of saws, CNC and edge-finishing equipment, but the exact tooling and settings must follow the manufacturer’s instructions and an approved test cut.
A top-surface pattern does not automatically continue through a newly cut edge. The exposed cross-section depends on the base slab and product system, so approve an edge sample before fabrication.
No. A miter can reduce visible cross-section, but it adds cutting, seam, support and alignment requirements. Select the edge from the product, design and approved physical result rather than a universal rule.
Do not assume so. Face polishing can change gloss, remove color or damage a surface layer. Obtain the product-specific repair procedure and test it on a representative offcut first.
Not always. Repair may reduce the defect, but recreating the original digital pattern, density and vein continuity invisibly may be impossible. Replacement may be the appropriate disposition.
Controls depend on the exact product composition and applicable workplace rules, not the printed appearance. Review the SDS and use the required engineering controls, wet methods, respiratory protection and housekeeping procedures.
No universal adhesive should be assumed. Use a manufacturer-approved system compatible with the substrate, surface layers, joint design and application.
Review a Printed Quartz Product Before Fabrication
Share the product code, slab format, edge design, cutouts, seam plan, application and destination. AsiaQuartz can review sample options, technical-file availability, QC and supply requirements.Request a Fabrication and Supply Review →